A well-built security fence can reduce property crime by up to 50 percent, giving you real peace of mind. For many homeowners and businesses, the right fence is more than just a boundary. It is a key layer of protection against threats and trespassers. Knowing exactly how to plan, choose materials, and install your fence will help you build a strong barrier that stands the test of time.
Table of Contents
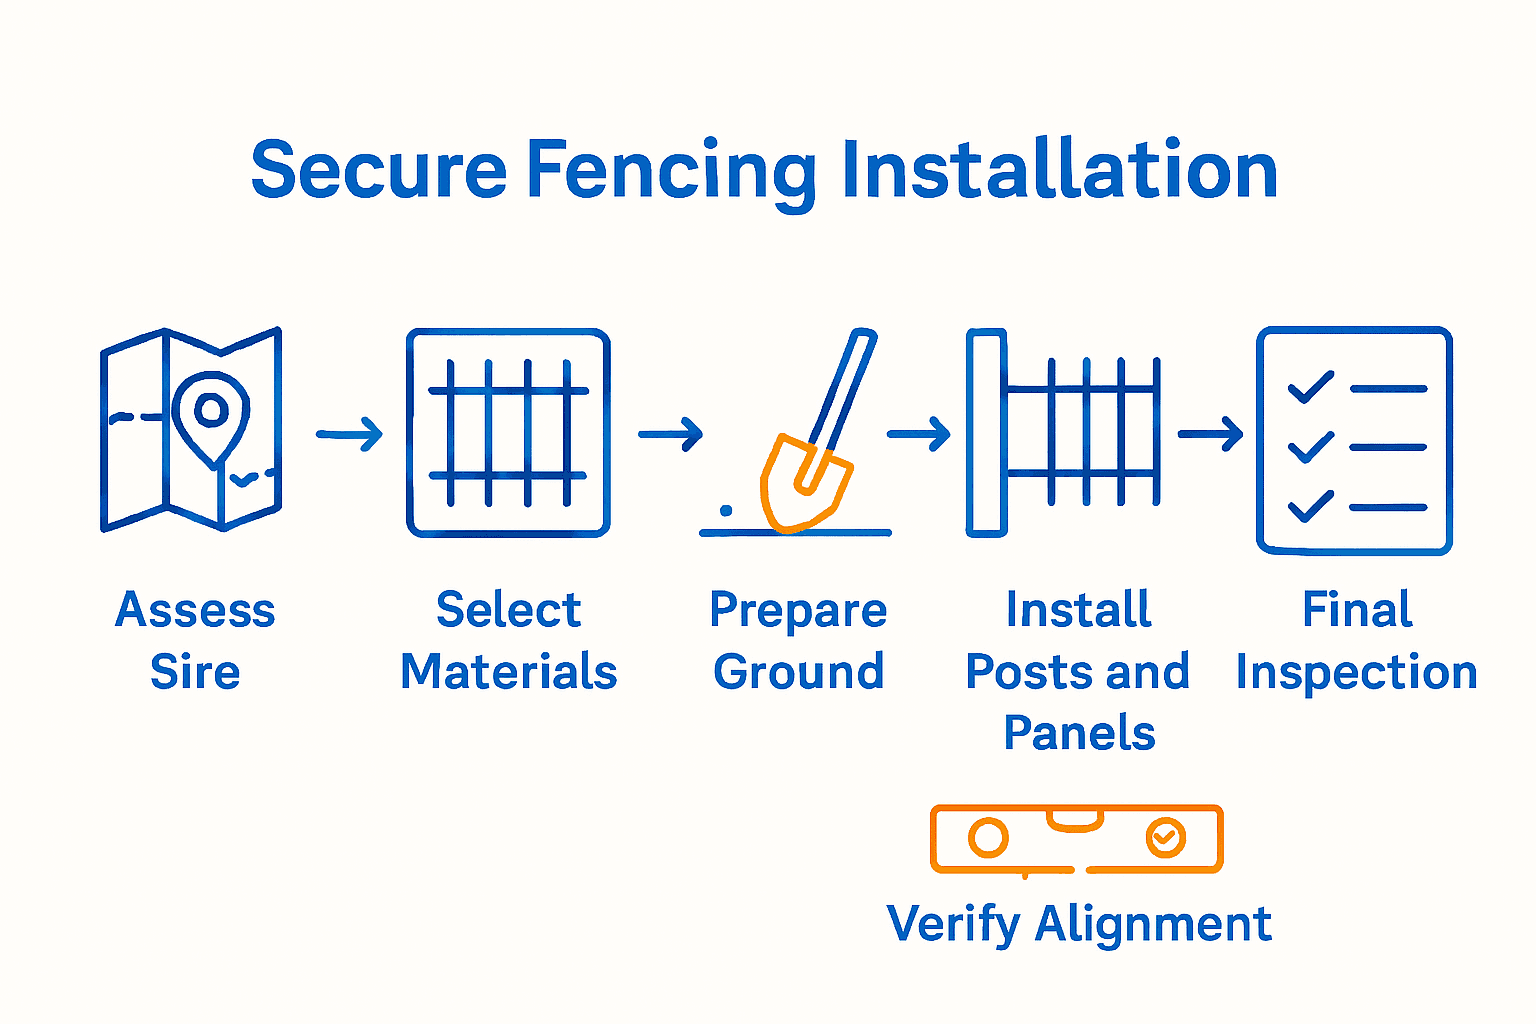
- Step 1: Assess Site And Define Boundaries
- Step 2: Select Suitable Fencing Materials
- Step 3: Prepare Ground And Mark Layout
- Step 4: Install Posts And Secure Panels
- Step 5: Verify Alignment And Structural Integrity
- Step 6: Finish Installation And Conduct Final Inspection
Quick Summary
| Key Point | Explanation |
|---|---|
| 1. Assess property boundaries carefully | Walk your property line, measure accurately, and mark it clearly to establish the fence route. |
| 2. Choose appropriate fencing materials | Evaluate options based on security needs and budget, considering factors like durability and maintenance. |
| 3. Prepare the ground properly | Level the ground, check for utilities, and mark post locations accurately to ensure correct installation. |
| 4. Install posts with precision | Set posts deeply and secure them firmly, ensuring they are level before attaching panels for stability. |
| 5. Conduct a thorough final inspection | Verify the alignment, stability, and security features of the fence for optimal performance and safety. |
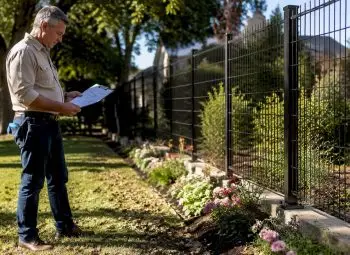
Step 1: Assess Site and Define Boundaries
Assessing your site and defining precise fence boundaries is the critical first step in creating a secure perimeter for your property. This foundational phase determines the entire success of your fencing installation and requires careful planning and measurement.
Begin by walking the entire property line with measuring tape and marking out your proposed fence route. Positioning your first post is crucial. They recommend setting the initial post 60cm deep into concrete and ensuring the threaded holes face inwards. This establishes your boundary alignment and provides a strong starting point for the entire fence line.
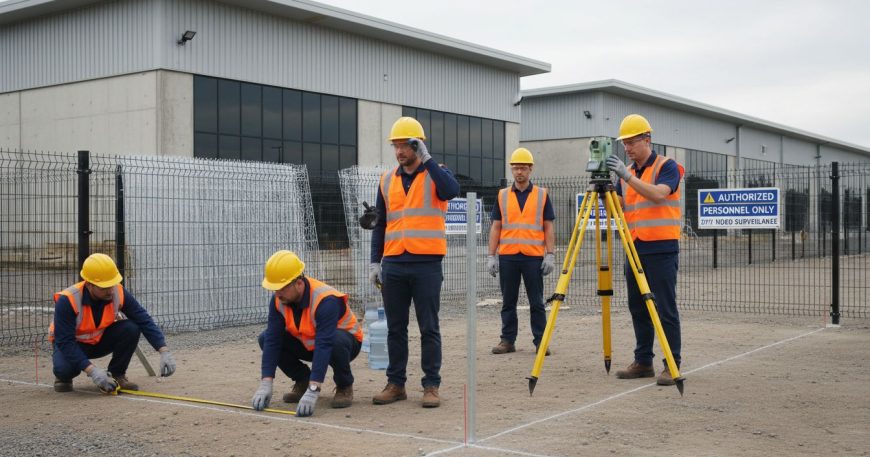
Professional surveyors recommend using wooden stakes and string to create a precise visual guide of your planned fence route. Mark underground utility lines before digging to prevent potential damage. Most local municipalities offer free utility mapping services that can help you identify potential underground cables or pipes. When measuring, account for slight terrain variations and create a clear path that follows natural property contours without unnecessary complications.
A professional tip fis to get an estimated project timeline after thoroughly reviewing your specific site requirements. This helps set realistic expectations and ensures comprehensive planning. Take precise measurements twice and document everything carefully before proceeding to the next installation stage.
Once you have accurately mapped and marked your boundaries, you are ready to move forward with post placement and fence construction preparation.
Step 2: Select Suitable Fencing Materials
Selecting the right fencing materials is fundamental to creating a secure and durable perimeter that meets your specific property requirements. This critical step involves carefully evaluating material options that balance security, aesthetics, and budget considerations.
Fence installation costs in South Africa vary significantly based on material type and specifications. For instance, Clearview fences range from R750 to R1800 per section, while electric fences can cost between R115 and R400 depending on the setup. This price variation underscores the importance of understanding your specific security needs and financial constraints.
When evaluating materials, consider factors like durability, visibility, maintenance requirements, and security level. Mesh panels like Clear View offer unobstructed visibility and robust protection. Galvanized steel provides excellent weather resistance, while high tensile wire adds an extra layer of security. Electric fencing can be an additional deterrent for high risk areas. Consider your specific environmental conditions wind exposure, potential corrosion factors, and long term maintenance requirements when making your selection.
A professional recommendation is to request material samples and conduct thorough comparative testing. Check the material’s tensile strength, rust resistance, and compatibility with your specific terrain. Some materials perform differently in coastal versus inland environments. Consult with security professionals who can provide tailored advice based on your unique property characteristics.
Once you have selected your materials, you will be ready to move forward with precise measurements and procurement for your fencing installation project.
Step 3: Prepare Ground and Mark Layout
Preparing the ground and marking your fence layout is a precision task that sets the foundation for a successful and secure fencing installation. This critical stage ensures your fence will be structurally sound and perfectly aligned with your property boundaries.
According to Jumalu Fencing, the initial post placement is crucial. They recommend setting the first post 60cm deep into concrete with threaded holes facing inwards. This establishes a critical reference point for your entire fence alignment. Before digging, use wooden stakes and bright string to create a visual guide that outlines your exact fence route. Mark each post location carefully and ensure the line is straight and follows your property contours precisely.
Prior to excavation, conduct a comprehensive underground utility check. Contact local municipal services to map out any underground cables water lines electrical conduits or telecommunications infrastructure. This step prevents potentially dangerous and costly accidents during installation. Use spray paint or temporary markers to indicate exact post locations and ensure consistent spacing between posts approximately 2.5 to 3 meters apart depending on your specific fencing type.
Professional installers always review site conditions to establish a clear project timeline. Measure twice and dig once is the golden rule. Ensure your ground is level and remove any rocks debris or vegetation that might interfere with post installation. Consider ground composition some soil types might require additional stabilization techniques like gravel base or concrete footings.
Once you have meticulously marked and prepared your layout you are now ready to begin the actual post installation process.
Step 4: Install Posts and Secure Panels
Installing fence posts and securing panels is a critical phase that determines the overall strength and stability of your security perimeter. This stage requires precision careful alignment and systematic installation techniques to ensure a robust and reliable fence.
The panel attachment process is crucial. They recommend using Spider Clips to fasten panels to posts with security screws. A key technical detail is ensuring at least one clip per post intersects with a horizontal wire for optimal stability. Begin by positioning your first post vertically checking it is completely level using a professional spirit level. Pour concrete around the base to create a solid foundation allowing it to cure completely before proceeding with panel installation.
Start installing panels systematically working methodically from one end of your designated fence line. As Jumalu Fencing further advises install the next post to precisely align with panel width repeating this process until your entire fence is complete. Use temporary bracing to maintain alignment during installation and check vertical positioning frequently. Wear protective gloves and safety glasses during this process and ensure you have all necessary tools prepared before beginning.
Professional installers recommend using galvanized security screws and checking panel tension regularly. Each panel should sit snugly between posts without unnecessary gaps that could compromise security. Pay special attention to terrain variations ensuring panels remain level even on uneven ground. You might need to trim panels or use specialized mounting techniques for slopes or irregular surfaces.
With panels securely installed and posts firmly anchored you are now ready to complete final security checks and finish your perimeter fencing project.
Step 5: Verify Alignment and Structural Integrity
Verifying the alignment and structural integrity of your fence is the final critical checkpoint that ensures your security perimeter meets professional standards of stability and performance. This meticulous inspection process determines the long term reliability and effectiveness of your fencing installation.
A key technical requirement is ensuring at least one clip per post intersects with a horizontal wire for optimal stability. Begin your verification process by systematically checking each post and panel connection. Use a professional grade spirit level to confirm vertical alignment and measure precise distances between posts. Look for any signs of wobbling uneven tension or potential weak points that could compromise the fence’s structural integrity.
Panels can be strategically adjusted to accommodate terrain variations. Jumalu recommends stepping panels on sloped installations to maintain proper alignment and structural consistency. This technique ensures your fence remains level and secure even on challenging ground surfaces. Check panel tension by applying gentle pressure at multiple points and observe how uniformly the panels respond. Uneven resistance might indicate installation irregularities that need immediate correction.
Professional installers suggest conducting a comprehensive walk through inspection checking for precise alignment visual symmetry and consistent panel spacing. Verify that all security clips are tightly fastened and no panel edges protrude or create potential climbing points. Pay special attention to corner sections and gates where additional structural reinforcement might be necessary.
With a thorough structural verification complete your fence is now ready for final security assessment and operational deployment.
Step 6: Finish Installation and Conduct Final Inspection
Completing your fencing installation requires meticulous attention to detail and a comprehensive final inspection to guarantee maximum security and performance. This crucial stage transforms your carefully constructed perimeter into a fully operational protective barrier.
According to Jumalu Fencing, the 30mm security barb can be strategically positioned either at the top or bottom of panels. If you need to customize panel sizes be aware that all exposed metal edges must be treated to prevent potential rust and degradation. Carefully cut panels using professional grade metal cutting tools ensuring clean precise edges and immediately apply rust resistant coating to maintain long term durability.
Jumalu Fencing recommends electric fencing can be mounted directly to the posts for enhanced security. During your final inspection systematically check every panel connection verifying tight fitting security clips and consistent alignment. Test the entire fence line by applying gentle pressure at multiple points to confirm structural stability. Look for any potential weak spots uneven tensions or areas that might compromise the overall security profile.
Professional installers suggest conducting a comprehensive visual and physical assessment. Check that all posts remain vertically aligned panels sit uniformly and no sections show signs of movement or instability. Verify that security features like anti climb measures are fully functional. Pay special attention to gate mechanisms corner sections and areas with potential terrain challenges. Ensure all protective coatings are intact and no exposed metal could potentially rust or weaken over time.
With your final inspection complete your secure fencing installation is now ready to protect your property effectively and professionally.
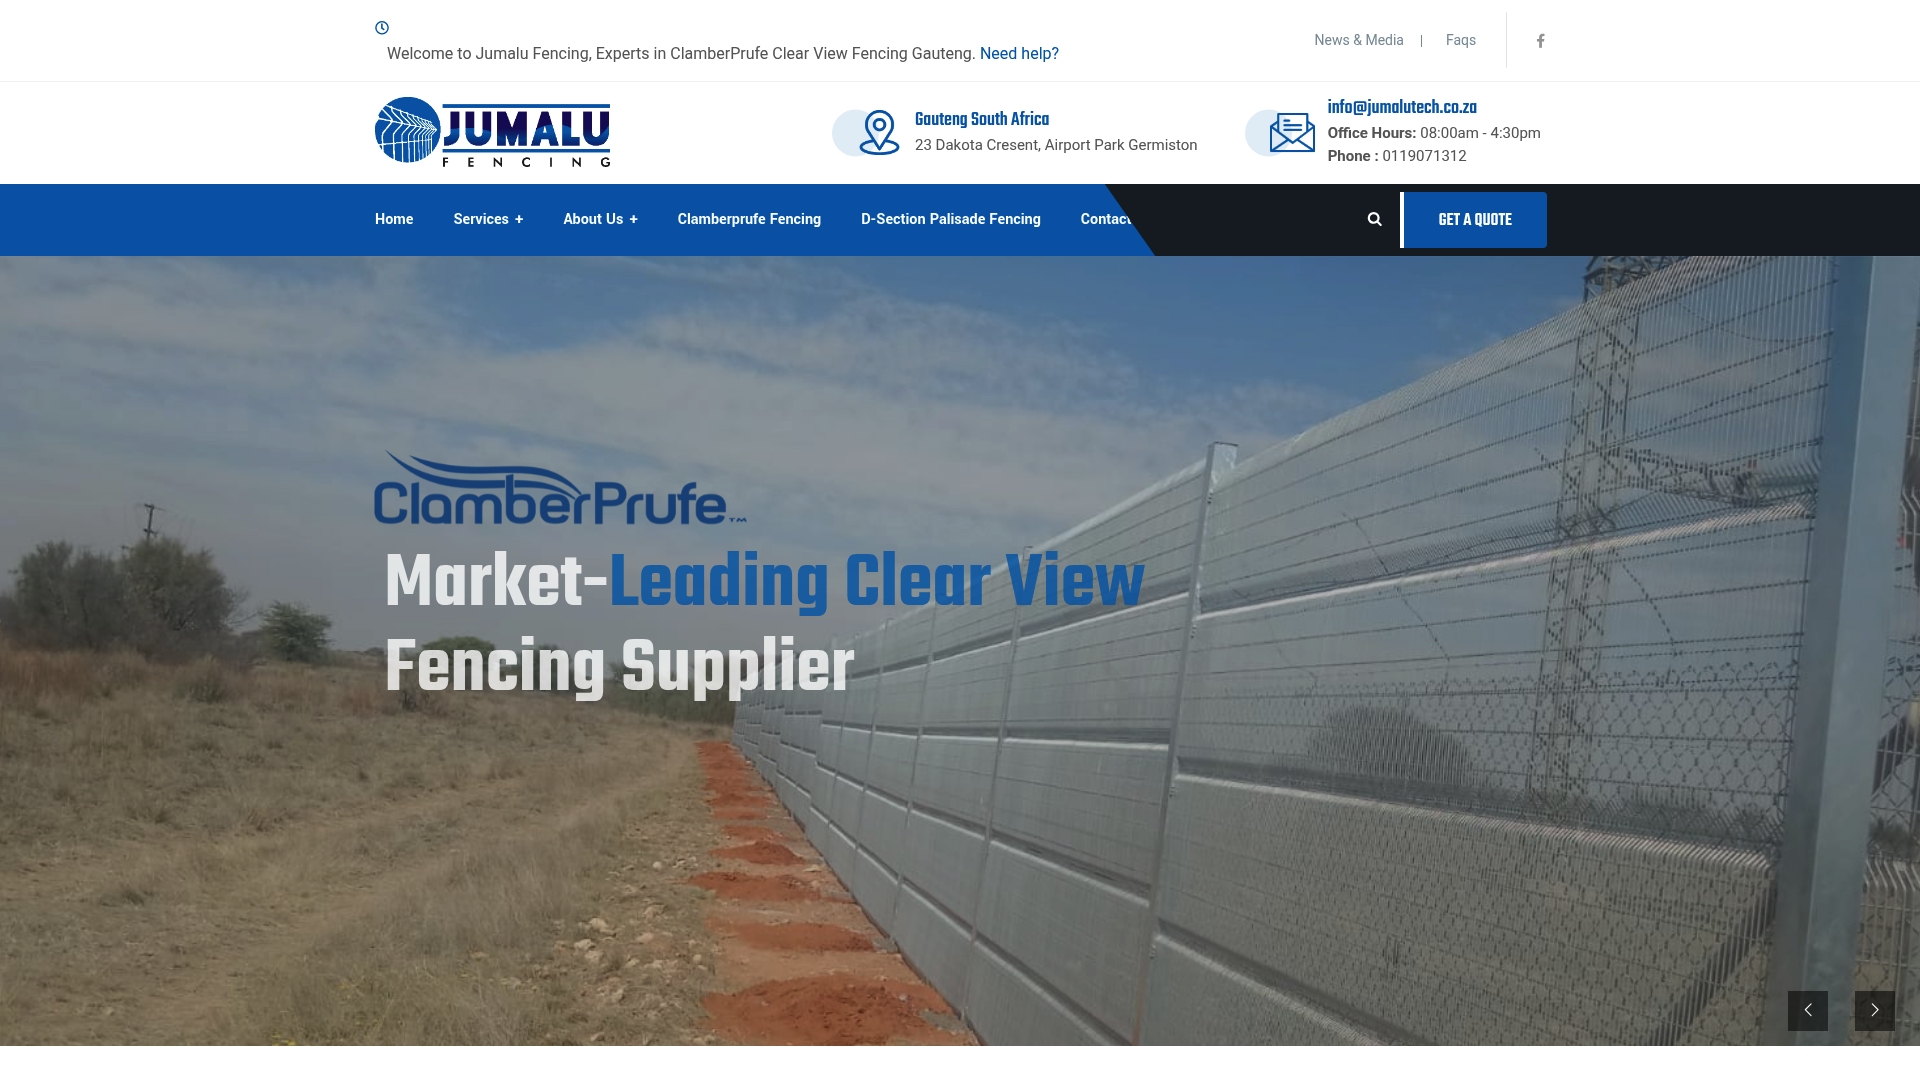
Secure Your Property with Expert Fence Installation from Jumalu Tech
Installing a secure fence that perfectly aligns with your property boundaries is no small task. From marking ground layouts and setting deep posts to securing panels with precision, each step demands attention to detail and expert craftsmanship. If you want a fencing solution that offers unobstructed visibility, anti-climb and anti-cut security, plus weather resistance, Jumalu Tech is your trusted partner. We specialise in professional Clearview Fence Installation – Jumalu Fencing that balances safety with aesthetic appeal and durability.
Don’t settle for less when securing your home or business perimeter. Explore our Mesh Panel Fencing – Jumalu Fencing options and tailor your entry points with our expert Gate Manufacturing – Jumalu Fencing services. Act now to get a reliable fencing system professionally installed by an experienced South African company that understands your security needs. Visit Jumalu Tech today and take the first step towards a safer, more secure property.
Frequently Asked Questions
How do I start the fencing installation process for secure properties?
To start the fencing installation process, assess your site and define precise fence boundaries. Walk the property line with measuring tape, mark the proposed route, and ensure the first post is set 60cm deep into concrete to establish your boundary alignment.
What materials should I consider for my fencing installation?
When selecting materials for your fencing installation, consider factors such as durability, security needs, and budget. Evaluate options like galvanized steel, Clear View mesh, or electric fencing based on their maintenance requirements and weather resistance.
How can I ensure my fence alignment is accurate during installation?
To ensure accurate fence alignment, use wooden stakes and string to create a visual guide for your planned route. Regularly check vertical alignment with a spirit level as you install posts and secure panels, making adjustments as needed.
What steps should I take to verify the structural integrity of my fence?
Verifying the structural integrity of your fence involves checking the alignment and stability of each post and panel connection. Conduct a walk-through inspection to identify any wobbling or uneven tension and make adjustments to ensure optimal security.
How do I finalize my fencing installation?
Finalizing your fencing installation requires a comprehensive inspection of all connections and the application of protective coatings. Carefully check for any weak spots and verify that security features, like anti-climb measures, are fully operational before declaring your fence complete.
What precautions should I take before digging for fence posts?
Before digging for fence posts, conduct a thorough underground utility check to avoid damaging any cables or pipes. Use local municipal services to map out underground lines and mark exact post locations to ensure a safe installation process.
Recommended
- Exploring the Top Mesh Panel Fencing Types for Ultimate Security: ClamberPrufe Clear View Fencing Takes the Lead – Jumalu Fencing
- Fencing Installation Services: Ensuring Maximum Security From Day One – Jumalu Fencing
- Step by Step Guide to Installing ClamberPrufe Clearview fencing – Jumalu Fencing
- Understanding the Definition of Mesh Fencing – Jumalu Fencing