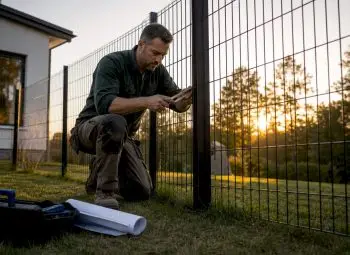
Most south-african property managers know that neglected security fencing can become a target for intruders within weeks. In Gauteng, where reliable perimeter protection is a priority, keeping ClamberPrufe fences in top condition is more than routine—it is fundamental for safety and curb appeal. This step-by-step guide covers practical inspection and maintenance practices to help you safeguard your property and uphold a professional appearance.
Table of Contents
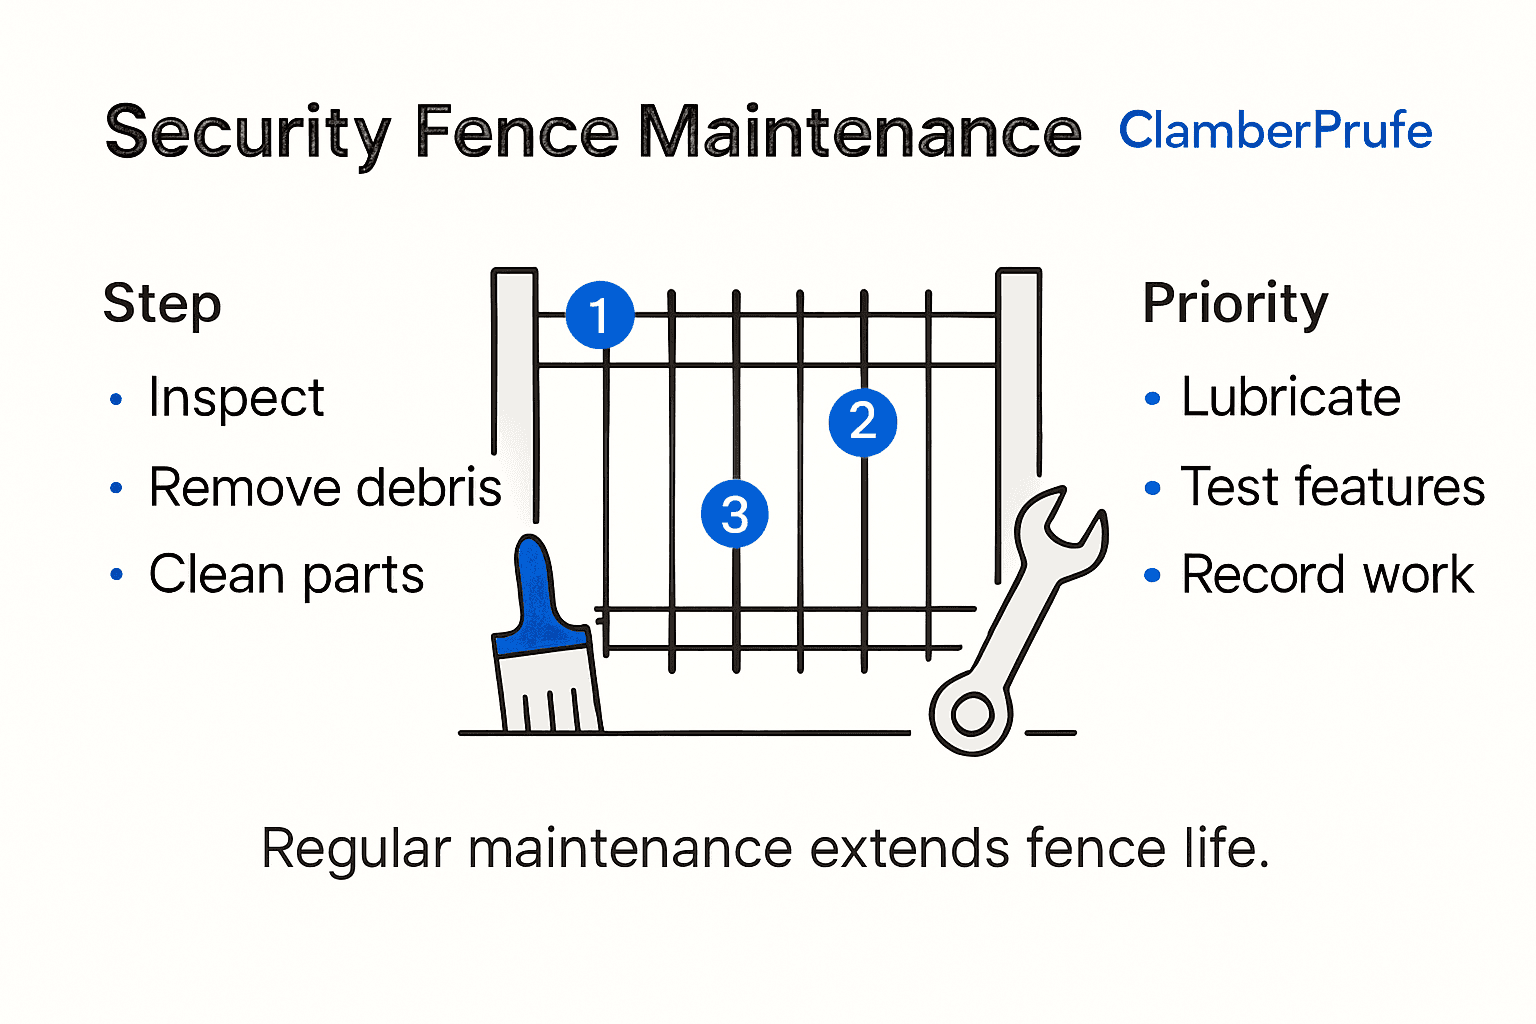
- Step 1: Inspect Fence Condition And Environment
- Step 2: Remove Debris And Address Visible Damage
- Step 3: Clean Panels, Posts And Fasteners
- Step 4: Lubricate Moving Parts And Hinges
- Step 5: Test Fence Integrity And Security Features
- Step 6: Record Work And Schedule Next Maintenance
Quick Summary
| Key Point | Explanation |
|---|---|
| 1. Regularly inspect fence | Conduct comprehensive inspections to identify damage and vulnerabilities, ensuring long-term security. |
| 2. Remove debris promptly | Clear vegetation and debris to maintain access and prevent structural damage to the fence. |
| 3. Clean and protect surfaces | Use appropriate cleaning solutions to prevent corrosion and preserve the fence’s integrity over time. |
| 4. Lubricate moving parts | Regularly lubricate hinges and locks to reduce friction and prolong the operational efficiency of your fence. |
| 5. Document maintenance activities | Keep a detailed log of inspections and repairs to track the fence’s condition and schedule future maintenance effectively. |
Step 1: Inspect fence condition and environment
Inspecting your ClamberPrufe security fence requires a systematic and thorough approach to ensure optimal performance and longevity. This comprehensive visual assessment helps identify potential vulnerabilities that could compromise your perimeter security. By understanding critical fencing inspection protocols, you can proactively maintain your fence’s structural integrity.
Begin your inspection by walking the entire fence line and examining each section methodically. Check for signs of physical damage such as bent mesh, loose posts, rust spots, or areas where the fencing material has been compromised. Pay special attention to connection points between mesh panels and support structures. Look for environmental factors like vegetation growth near the fence line, soil erosion around posts, or potential corrosive agents that might impact the fence’s durability. Assess the alignment of fence posts and ensure they remain vertically straight and firmly anchored.
Here’s a summary of key inspection points and common issues to watch for:
| Inspection Area | What to Check | Common Problems |
|---|---|---|
| Mesh panels | Look for bends, tears | Rust, gaps |
| Fence posts | Ensure vertical, firm | Leaning, corrosion |
| Connections | Assess stability | Loose fittings |
| Ground level | Check for erosion | Exposed or shifted |
| Environment | Vegetation control | Plant encroachment |
Useful tip: Always conduct fence inspections during daylight hours and use a systematic grid approach to ensure no section is overlooked during your assessment.
Step 2: Remove debris and address visible damage
Addressing debris and potential damage is critical for maintaining the integrity and security performance of your ClamberPrufe fencing system. City infrastructure guidelines emphasise systematic removal of foreign materials and prompt repair of structural weaknesses to prevent long term security vulnerabilities.

Begin by clearing vegetation growth, fallen branches, accumulated rubbish, and other debris from the fence line. Use gardening tools like pruning shears, rakes, and gloves to carefully remove plant materials without damaging the fence mesh or supporting structures. For rust spots or minor panel damage, prepare specialised cleaning materials such as wire brushes, rust removal solution, and protective zinc rich paint. Carefully clean affected areas to prevent further corrosion and structural compromise.
Useful tip: Keep a dedicated maintenance kit with cleaning supplies, protective gloves, and basic repair tools near your fence line to enable quick and efficient debris removal and minor repairs.
Step 3: Clean panels, posts and fasteners
Comprehensive maintenance standards for security fencing emphasise the critical importance of systematic cleaning to preserve your ClamberPrufe fence’s structural integrity and performance. Proper cleaning prevents corrosion, removes contaminants, and ensures long term durability of your security infrastructure.
Start by selecting appropriate cleaning materials specifically suited for metal components. Use soft bristle brushes, mild non corrosive cleaning solutions, and soft cloths to gently remove dust, dirt, and potential chemical residues from panels, posts, and fastening mechanisms. Pay special attention to junction points and hidden surfaces where debris tends to accumulate. Rinse thoroughly with clean water and ensure complete drying to prevent moisture related deterioration. For stubborn grime or minor rust spots, use specialised metal cleaning solutions designed for galvanised surfaces, applying them carefully to avoid damaging the protective coating.
Useful tip: Always test cleaning solutions on a small inconspicuous area first to ensure they do not compromise the fence’s protective finish.
Step 4: Lubricate moving parts and hinges
Technical specifications for municipal security infrastructure mandate regular lubrication as a critical maintenance procedure for ensuring optimal performance of gate mechanisms and mechanical components in your ClamberPrufe security fencing system. Proper lubrication prevents corrosion, reduces friction, and extends the operational lifespan of moving parts.
Select a high quality outdoor grade lubricant specifically designed for metal components exposed to environmental conditions. Focus on gate hinges, lock mechanisms, and any sliding or rotating elements within your fencing system. Apply the lubricant sparingly but thoroughly, ensuring complete coverage of pivot points and mechanical interfaces. Use a clean cloth or precision applicator to distribute the lubricant evenly, avoiding excess that might attract dust or debris. Pay special attention to areas prone to moisture exposure or potential rust formation, working the lubricant into all moving surfaces to create a protective barrier against environmental degradation.
The table below compares cleaning and lubrication requirements for different fencing system parts:
| Fence Component | Cleaning Frequency | Lubrication Need | Maintenance Priority |
|---|---|---|---|
| Mesh panels | Quarterly | Not required | High |
| Posts & fasteners | Twice per year | Not required | Medium |
| Hinges & locks | Before rainy season | Every 3 months | Critical |
| Electronic systems | As per manufacturer | Not applicable | High |
Useful tip: Keep a maintenance log documenting each lubrication session to track the frequency and effectiveness of your preservation efforts.
Step 5: Test fence integrity and security features
Technical specifications for perimeter security systems mandate comprehensive testing of your ClamberPrufe security fence to ensure optimal performance and reliability. This critical evaluation process involves systematically examining the physical and functional aspects of your security infrastructure.
Begin with a thorough visual inspection of the entire fence line, checking for any signs of structural weakness, misalignment, or potential breaching points. Test the tension and stability of mesh panels by applying gentle pressure to verify their resistance to manipulation. Examine gate mechanisms thoroughly testing lock functionality, hinge stability, and smooth operational movement. If your fence includes electronic security features such as sensors or alarm systems, activate and verify each component ensuring they respond correctly to potential security challenges. Pay special attention to connection points between panels, posts, and any integrated technological components.
Useful tip: Document your testing process meticulously and photograph any areas of concern to track potential degradation over time.
Step 6: Record work and schedule next maintenance
South African infrastructure maintenance protocols emphasise comprehensive documentation of security fencing maintenance activities. Creating a detailed maintenance record is crucial for tracking the condition of your ClamberPrufe fence and ensuring systematic long term preservation.
Prepare a structured maintenance log that captures essential details of each inspection and repair session. Include the date of maintenance, specific tasks performed, materials used, areas of concern identified, and corrective actions taken. Note the condition of panels, posts, gates, and any electronic security features. Use a digital spreadsheet or dedicated maintenance tracking application to ensure consistency and ease of future reference. Plan and schedule your next maintenance session based on the current inspection findings and manufacturer recommendations typically suggesting comprehensive checks every six to twelve months.
Useful tip: Digitally photograph key areas during each maintenance session to create a visual progression record that helps track potential deterioration over time.
Keep Your ClamberPrufe Fence Secure and Durable with Expert Solutions
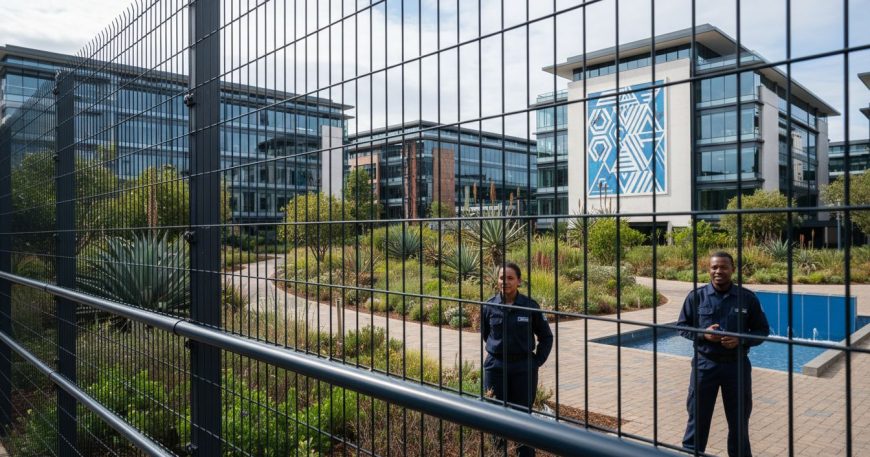
Maintaining your ClamberPrufe fencing system demands attention to detail and proactive care to prevent vulnerabilities like rust, debris build-up, and mechanical wear. If you are seeking reliable fencing solutions that combine high security and lasting performance, discover our professional Clearview Fence Installation – Jumalu Fencing services. We specialise in robust fences designed to resist cutting and climbing while maintaining excellent visibility and aesthetic appeal.
Take control of your property’s safety with our tailored fencing and durable Gate Manufacturing – Jumalu Fencing offerings. Act now to benefit from expert installation and comprehensive product support. Visit Jumalu Tech today to request a personalised quotation and secure your investment with fencing built to withstand South African conditions.
Frequently Asked Questions
How often should I inspect my ClamberPrufe security fence?
Regular inspections are essential for maintaining your ClamberPrufe fence, ideally every six to twelve months. Schedule a thorough inspection to identify any signs of damage or wear, allowing for timely repairs to prevent further issues.
What specific areas should I check during a fence inspection?
Focus on key inspection areas such as mesh panels, fence posts, connections, ground level, and the surrounding environment. Carefully assess each section for damage, erosion, or vegetation growth that could compromise the fence’s integrity.
How can I remove debris without damaging my fence?
Use appropriate gardening tools, such as pruning shears and rakes, while wearing gloves to carefully clear away vegetation and debris. Avoid using sharp or heavy tools that could harm the fence’s mesh or support structures.
What cleaning products are suitable for my ClamberPrufe fence?
Select mild, non-corrosive cleaning solutions specifically designed for metal components to avoid damaging the fence’s protective coating. Always test the cleaning product on a small, inconspicuous area first to ensure it will not cause any damage.
How do I maintain the moving parts of my ClamberPrufe security fence?
Lubricate hinges, locks, and other moving parts every three months using a high-quality outdoor lubricant. Apply it sparingly to pivot points and ensure all surfaces are covered, enhancing the operational lifespan of your fence.
What should I include in my fence maintenance log?
Document each inspection and repair session in your maintenance log by noting the date, tasks performed, materials used, and any areas of concern. This record will help you track the condition of your fence and plan future maintenance sessions effectively.
Recommended
- ClamberPrufe Clearview Fencing – Jumalu Fencing
- Security Fencing Terminology Explained: Complete Guide – Jumalu Fencing
- Exploring the Top Mesh Panel Fencing Types for Ultimate Security: ClamberPrufe Clear View Fencing Takes the Lead – Jumalu Fencing
- Step by Step Guide to Installing ClamberPrufe Clearview fencing – Jumalu Fencing
- Surface Treatment Process for Durable Infrastructure Results
- 7 Smart Steps for a Home Safety Checklist Every Buyer Needs | ReVroom